Select "Edit Sites..." or "Manage Sites..." (depending upon your version of Dreamweaver).
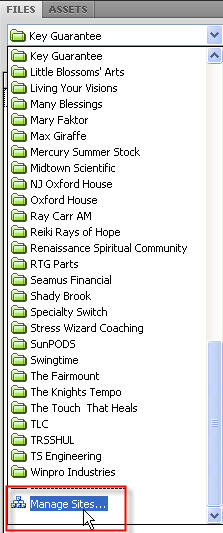
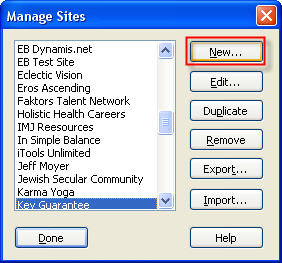
Click "New...", as shown below, and a drop-down menu will appear:
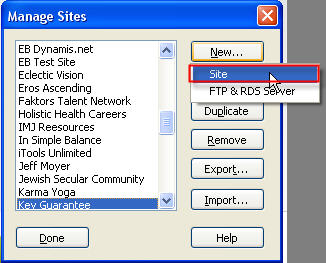
In the drop-down menu, select "Site".
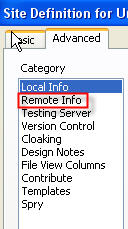
Click on the "Advanced" tab:
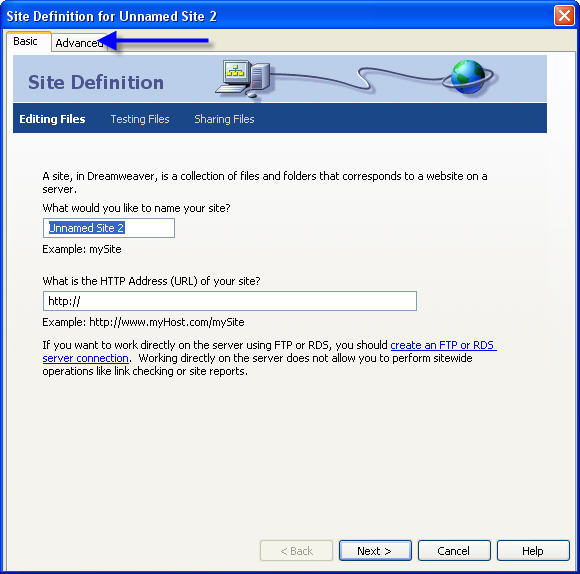
"Local Info" should be selected by default. Enter the name of your site in the "Site Name" block. NOTE: This is not the name of your website, but a descriptive name for your site.
Click the folder image next to the "Local root folder" block and browse to the folder on your computer where you want to store your files.
Enter the URL of your website in the "HTTP address" block.

Under the "Advanced" tab, click on "Remote Info".
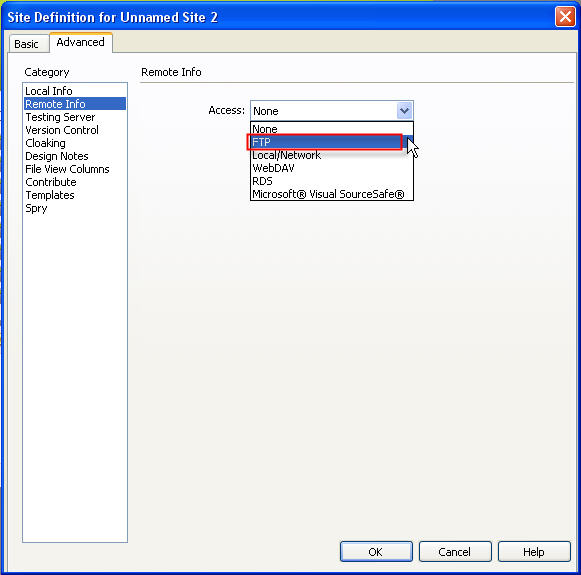
On the Remote Info page, select "FTP" from the Remote Info Access list:
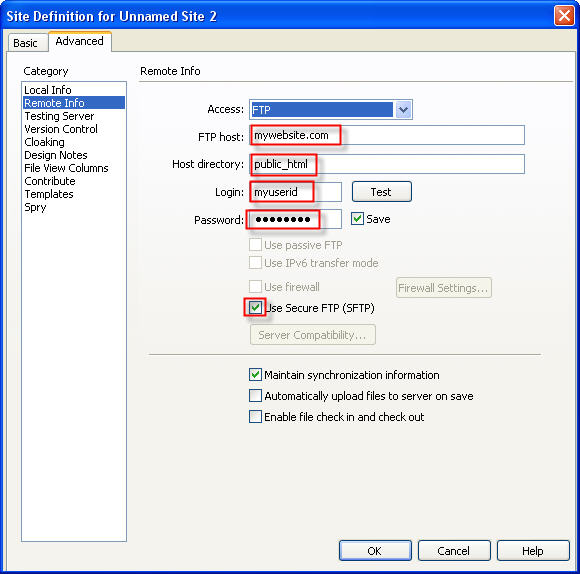
Enter your website address, or the IP address of your server in the "FTP host" block.
Enter the web root folder for your server (typically "public_htm'", "www" or "ht_docs") into the "Host directory" block.
Enter your FTP user ID into the "Login" block.
Enter your FTP password into the "Password" block.
NOTE: You can check "Save" for Dreamweaver to remember your password when you login in the future. If your server is running "Cpanel," your FTP login in is the same as your FTP login.
We recommend that you check the "Use SEcure FTP (SFTP) block" to keep hackers from sniffing your password.
"Maintain synchronization information" should be checked by default.
Click the "Test" button to verify that your settings are correct. An alert pop-up box will appear to tell you the test has been completed successfully, if everything is correct.
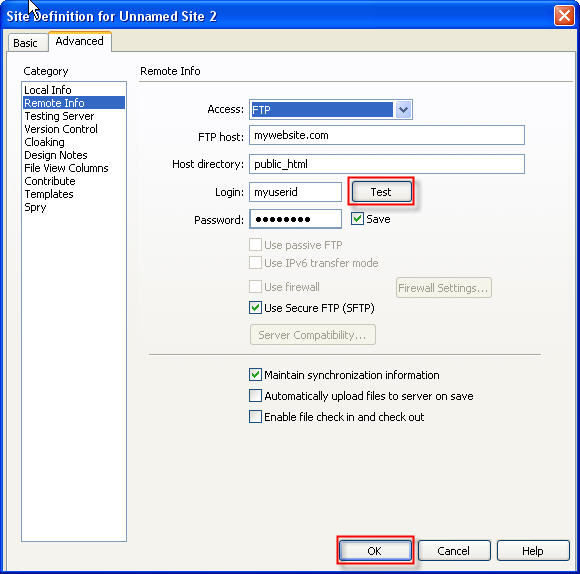
Click "OK" to complete and your site will open in Dreamweaver.